Facebook API Connection
The Facebook API is used to connect websites to the Facebook system, which includes:
- Facebook Login : Allows audiences to apply for membership or create an account to easily log in to the website.
- Facebook Comment : Allows audiences to comment on products, articles, galleries and activity calendars connected to Facebook.
- Facebook Instant Articles: Helps audiences access articles on Facebook faster. This feature can overcome long loading of articles or news.
Before activating this system, you need to have Facebook first activate its API.
Facebook App
- Go to the URL https://developers.facebook.com/ then select Log In in the top right corner of the menu. After logging in, go to the “My Applications” menu.
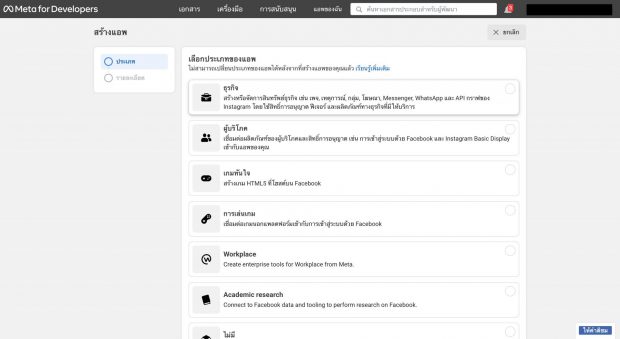
- Click “Create Application” , then select Business as the application type and click “Continue” .
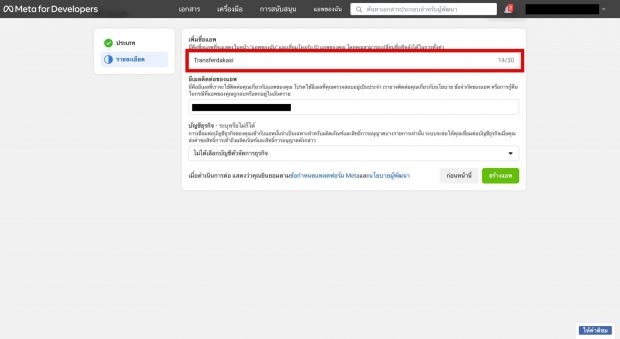
- Enter the name of the application and click “Create Application”.
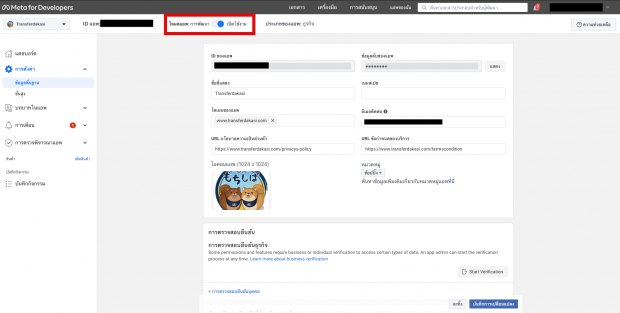
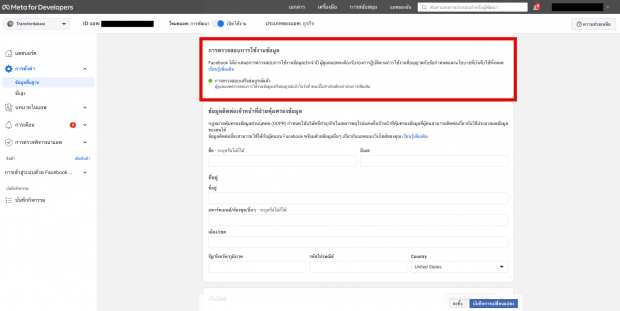
- Go to Settings > Basic Information . Then specify additional information and click Save Changes .
– Application Domain: Determine the website domain name without using http:// or https:// (eg: makewebeasy.com).
– Privacy Policy URL : Specify the page URL containing the website’s privacy policy, for example https://www.makewebeasy.com/privacys-policy.
– Terms & Conditions URL: Determine the page URL containing the website’s terms and conditions, for example https://www.makewebeasy.com/termscondition.
– Application Icon
– Category
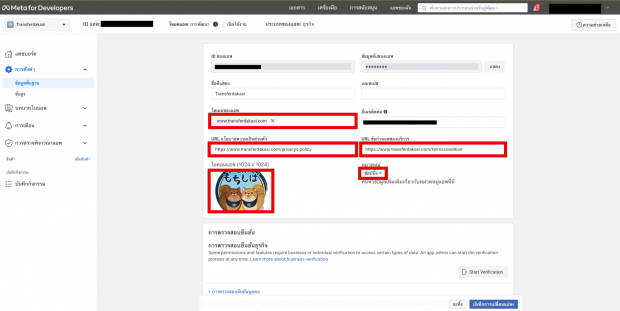
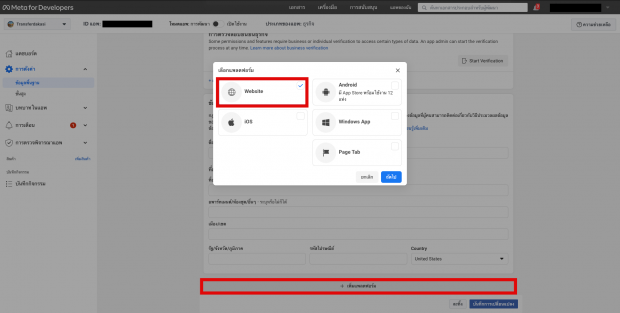
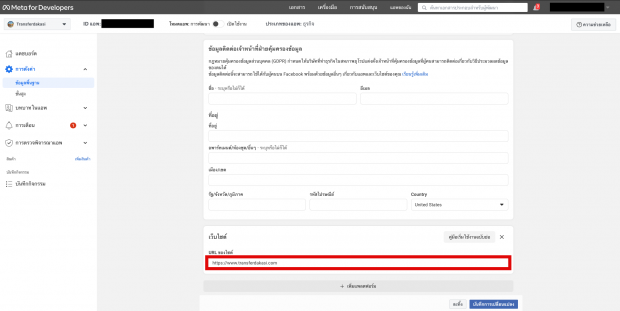
- Add a Website type platform and specify the site URL (eg: makewebeasy.com), then click Save.
- Turn on the “Application Mode” toggle .
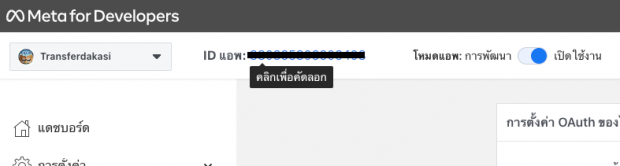
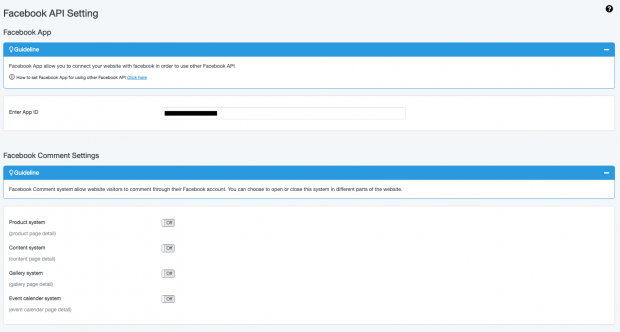
- Copy the Application ID to be installed in the MakeWebEasy back-end system . The method is, go to the “SEO & Marketing” Menu > API > Facebook API > Facebook Application > enter the Application ID , and click Save to keep the work.
Now, you can set up other Facebook APIs in the MakeWebEasy back-end system , such as:
- Facebook Comment
- Facebook Login
- Facebook Instant Article
Facebook Comment
The Facebook comments column is a place used by audiences to express their views regarding products or services on the Facebook application. If you want to use this feature, then you must set up the Facebook application above first. If so, you can proceed to the next stage, namely:
- Go to the “SEO & Marketing” menu > API > Facebook API
- You can activate the enable/disable Facebook Comments toggle in various parts of the website, such as:
– Product System (Product Page Details)
– Article System (Content Page Details)
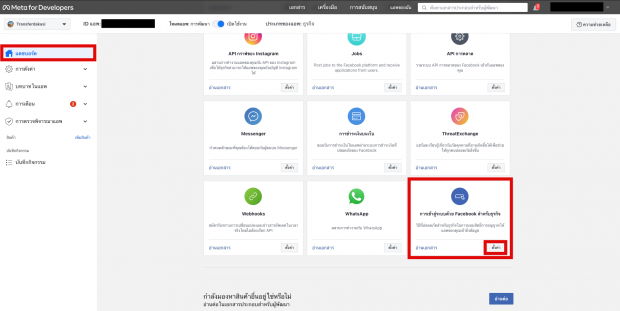
Facebook Login
You can use this feature to make it easier for your audience (consumers) to apply for membership or log in to the website easily just by using their Facebook account.
- Go to the URL https://developers.facebook.com , then select Log In in the top right corner of the menu. After logging in, go to the My Applications menu.
- Go to Dashboard > Facebook Login > Settings .
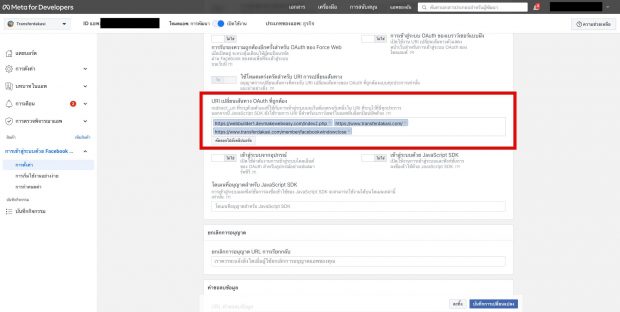
- In the Client OAuth Settings section , set the settings as shown in the image, then click Save Changes .
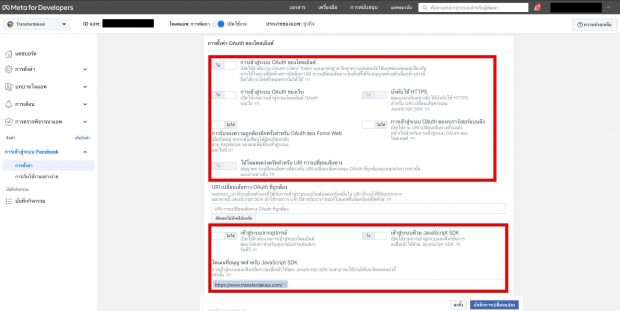
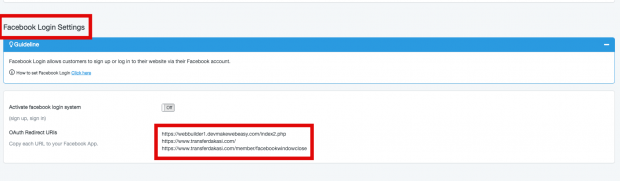
In the Allowed domains for JavaScript SDK section , you can enter a domain name (for example: makewebeasy.com) - In the OAuth Redirect URI section , you can specify it by copying the URLs one by one from the MakeWebEasy back-end system . The method is to click the “Facebook API” Menu > Facebook Login Settings > OAuth Redirect URIs . Enter everything then click “Save Changes” .
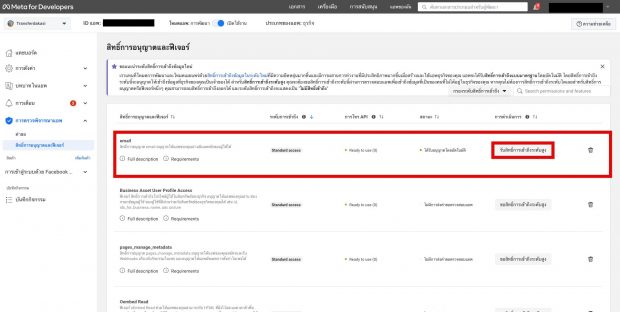
- If a notification appears as shown in the picture, follow the steps below:
*If there is no notification, then you can skip it.

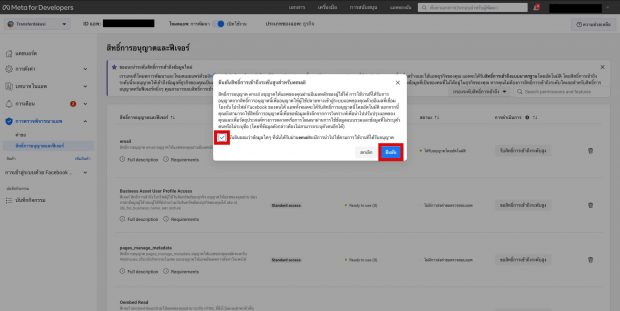
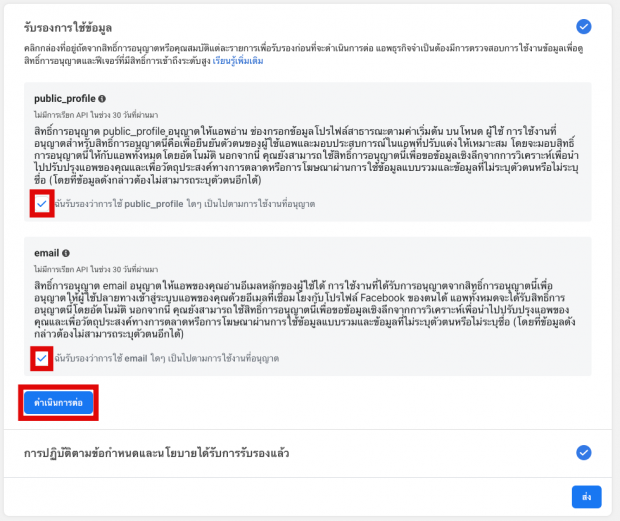
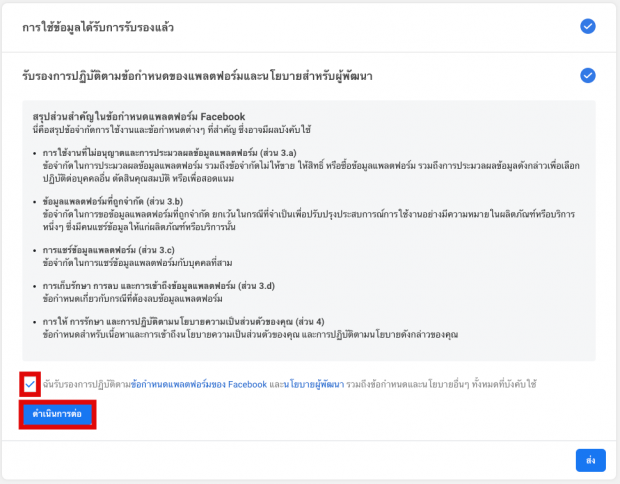
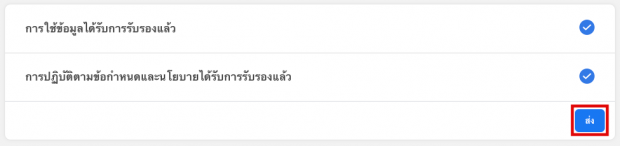
If a notification like this appears, click the Login Switch to Facebook link , then select API Using Certain Permissions Doesn’t Work. - Go to App Overview > Permissions & Features , then press Request Advanced Access for the following features:
– Email
– Public Profile
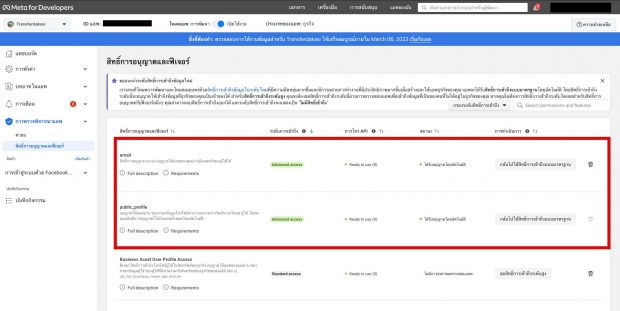
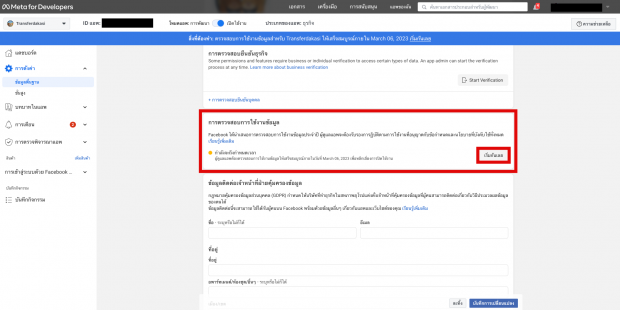
- Go to Settings > Basic Info > Data Usage Monitor , then press “ Start Monitor”
*If verification is complete, you can skip this step.
- Go back to the MakeWebEasy back-end system . Click on the “Facebook API” menu > “Facebook Login Settings” > Activate Facebook Login System . Finally, click “ Save” to complete the work.
