Customizing Website Font Style, Background, Button, and Theme
There are seven sections that you need to customize in order to make your website more attractive
- Font style
- Background
- Button
- Theme
- Commerce widget
- Website navigation
- Mourning feature
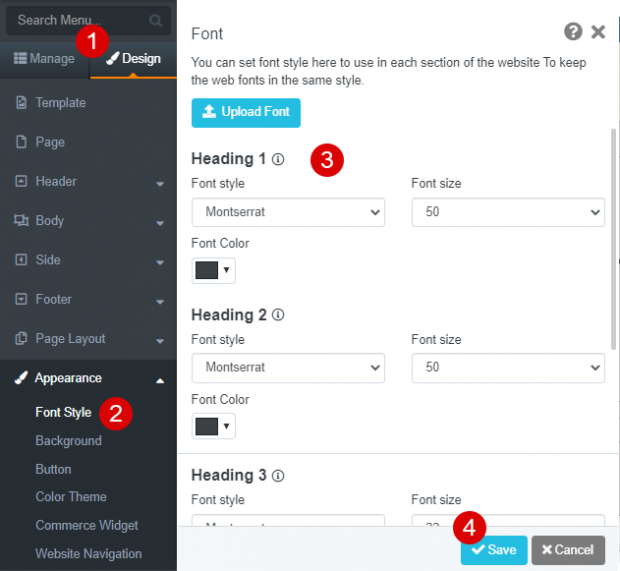
1. Font style for the whole website sections can be adjusted in this part. Set the same font, size, and color for all sections to make your website neat and tidy
1. Navigate to Design
2. Select Appearance > Font Style
3. Set the font style, size, and color for each section
4. Click the Save button
Additional instructions: you can use your own font by clicking Upload Font button (the custom fonts must be copyrighted)

The result of the font style adjustment in Introduction, Description, and General sections
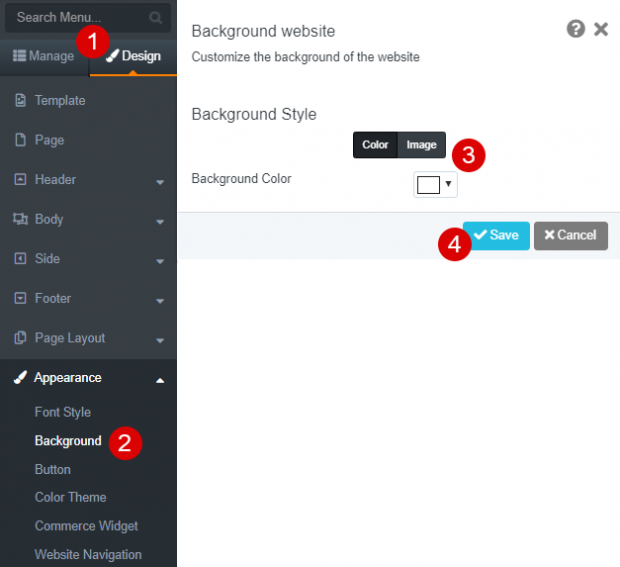
2. Set up the background
1. Navigate to Design
2. Select Appearance > Background
3. Choose a background color or upload an image
4. Click the Save button
Note: The background adjustment in this section will apply to the entire website background. In the case of designing a section background, such as the first page will not display unless the background is transparent. Do not put vivid color and too many pictures as it will make your text difficult to read
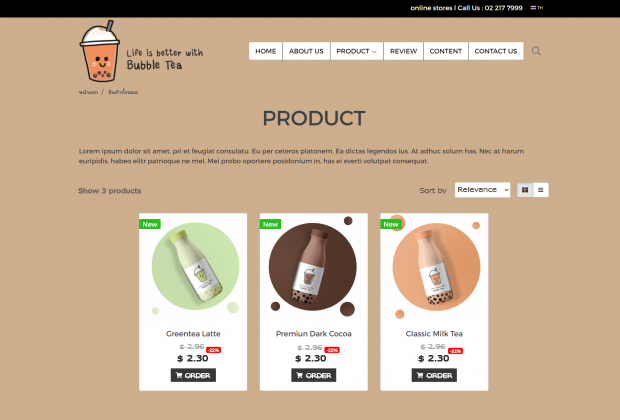
The result after changing the background from white to brown
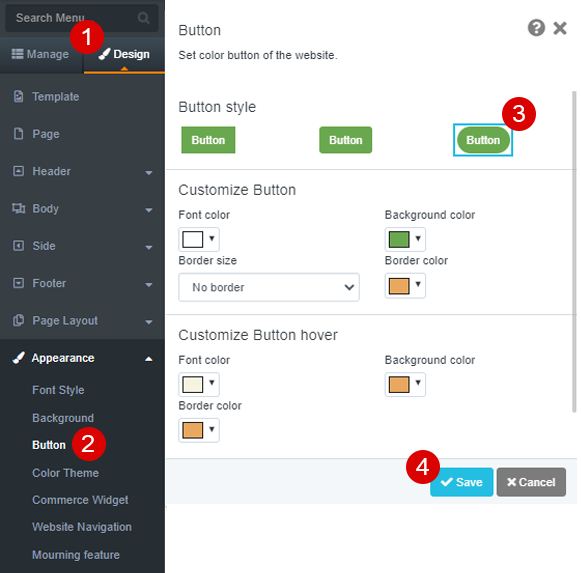
3. Set up the button (order button, contact button, and other buttons)
1. Navigate to Design
2. Select Appearance > Button
3. Customize button style, put color to font and background, as well as set up the border size both before and when the cursor point the button
4. Click the Save button
The result after customizing the button layout and color
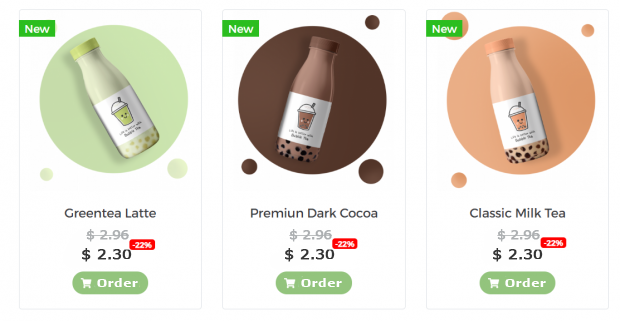
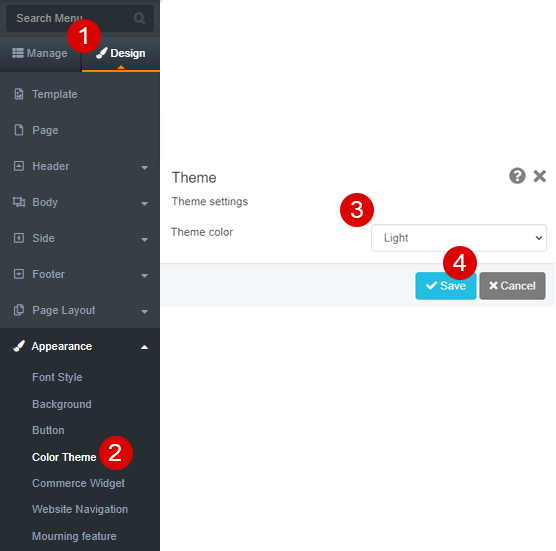
4. Set up the theme (theme in the shopping cart, member login, and input field system)
1. Navigate to Design
2. Select Appearance > Theme Color
3. There are two theme styles you can choose; light and dark theme
4. Click the Save button
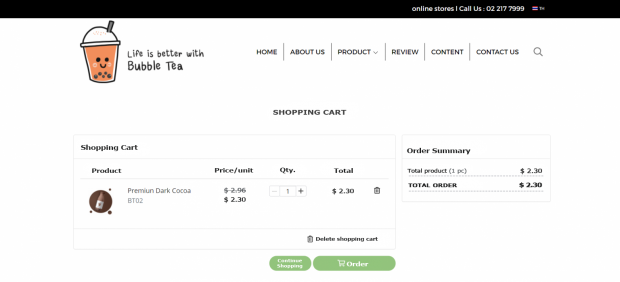
The result when you choose the light theme
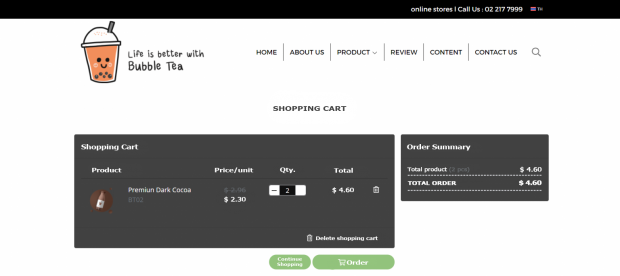
The result when you choose the dark theme
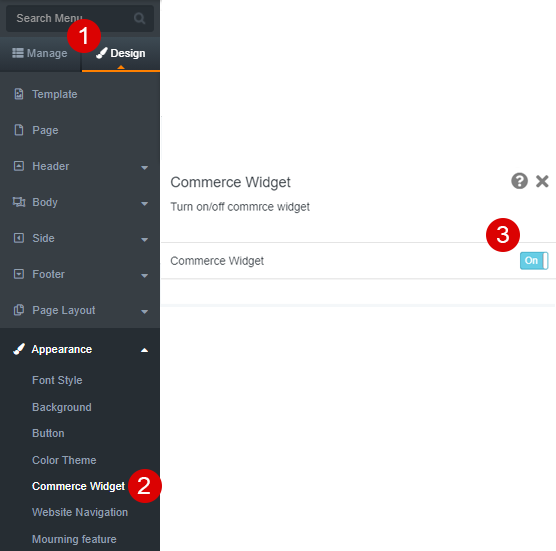
5. Activating Commerce Widget
1. Navigate to Design
2. Select Appearance > Commerce Widget
3. Swipe On/Off commerce widget
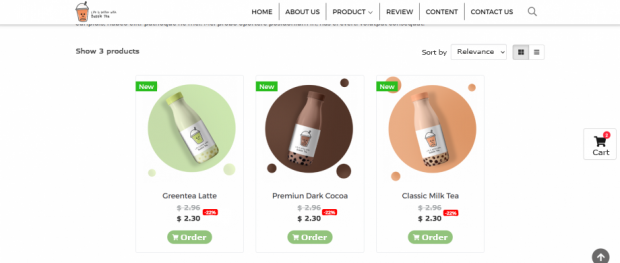
The result after activating commerce widget appears on the right side of the website
Additional instructions: if you want to attach the Price Comparison and Wishlist Product widgets, go to Manage > E-Commerce > Other Settings
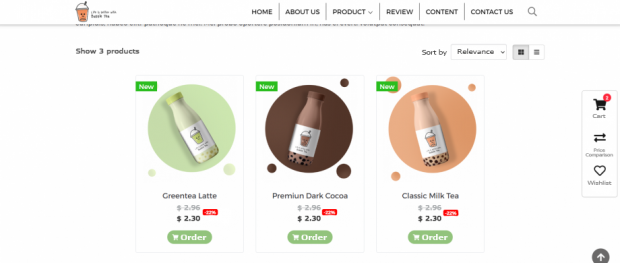
The results after activating E-commerce widgets; Price Comparison widget and Wishlist Product widget
6. Activating Website Navigation
Use website navigation to help visitors know where they are at. It will appear in the product pages, articles, and gallery sections. We recommend enabling this because website navigation (Breadcrumb Navigation) will help increase your SEO efficiency
1. Navigate to Design
2. Select Appearance > Website Navigation
3. Swipe On/Off website navigation

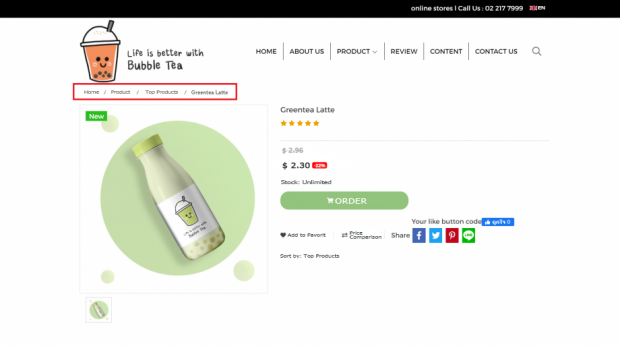
The result when activating the Website Navigation on the product details page
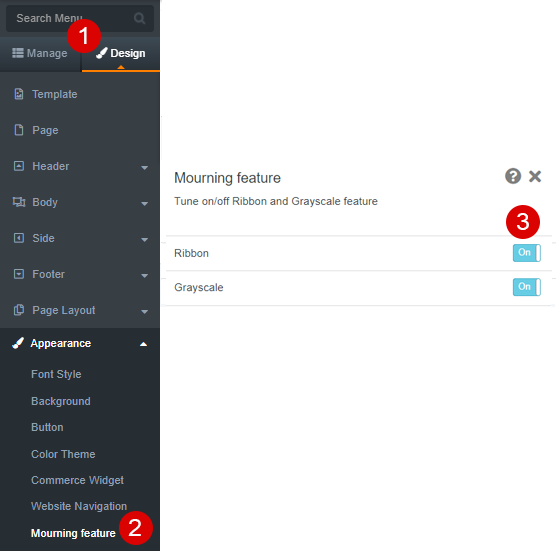
7. Set up Mourning Feature
The system will turn your website’s color tone into 60% grayscale or embed a black ribbon to express condolences
1. Navigate to Design
2. Select Appearance > Mourning Feature
3. Swipe On/Off Ribbon and Grayscale tone
Yuka
Business Development at MakeWebEasy