Add Section
Content section is the section that displays information about each type of content. The content will be changed according to the page or menu. In MakeWebEasy system, you will be given a variety of formats to choose from. You can choose the layout of text, images, or videos yourself. There are two methods for adding website content.
- How to add a blank section
- How to add a preset section
How to add a blank section
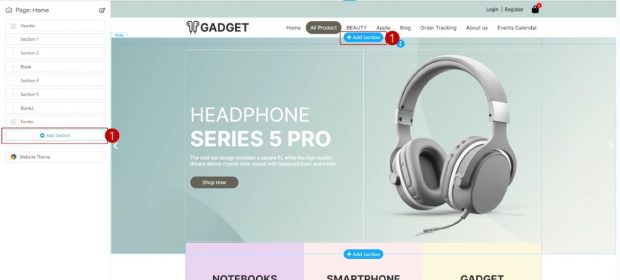
- Click on the button “Add Section” . Users can press the Add Section button in 2 places: the Add Section button on the side or on the Render, the blue Add Section button
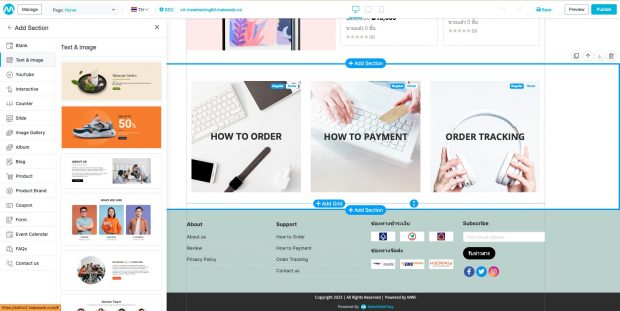
2. Select “Blank Section”
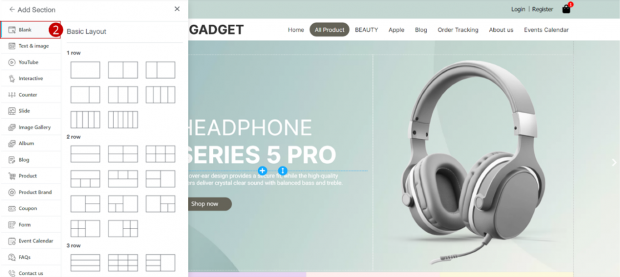
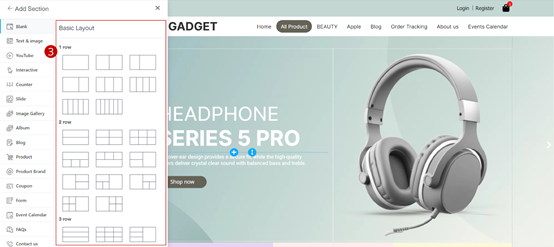
3. Select the desired layout
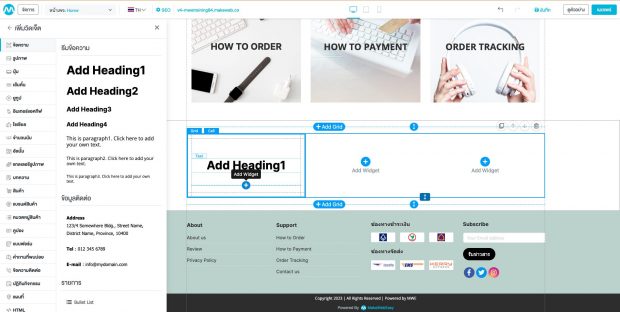
4. The system will allow users to add widgets to customize website content. How to add each type of widget can be found at Add Widget.
How to add a preset section
Example of how to add a content section (Text & image)
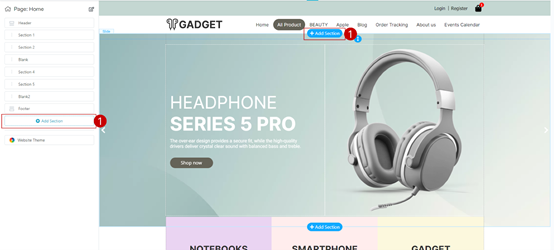
1. Click on Button “Add Section”. Users can press the Add Section button in 2 places: the Add Section button on the side or on the Render, the blue Add Section button

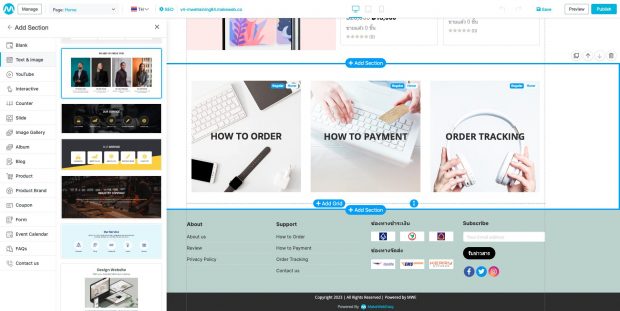
2. Select “Text & image“
3. Select the desired Preset.
4. The system displays the selected Preset. Users can further customize images and text.

Example of how to add a product section
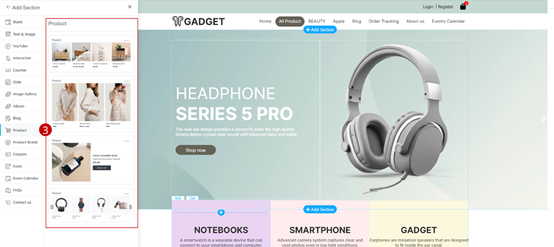
1.Click on the button “Add Section” Users can press the Add Section button in 2 places: the Add Section button on the side Beside or on the Render, the blue Add Section button
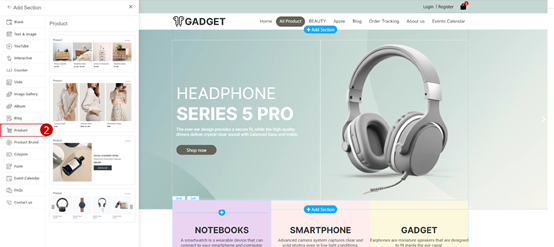
2. Select “Product”
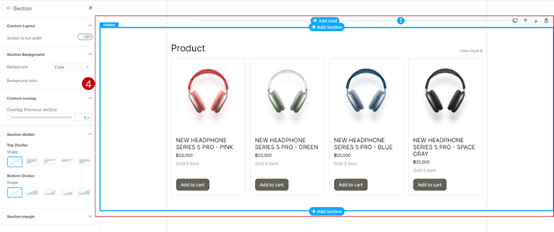
3. Select the desired Preset.
4. The system pulls out the products and displays them according to the selected format.
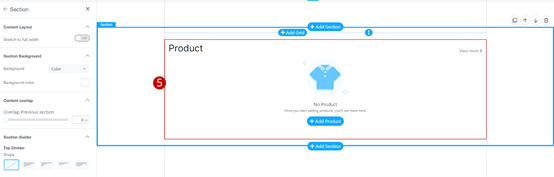
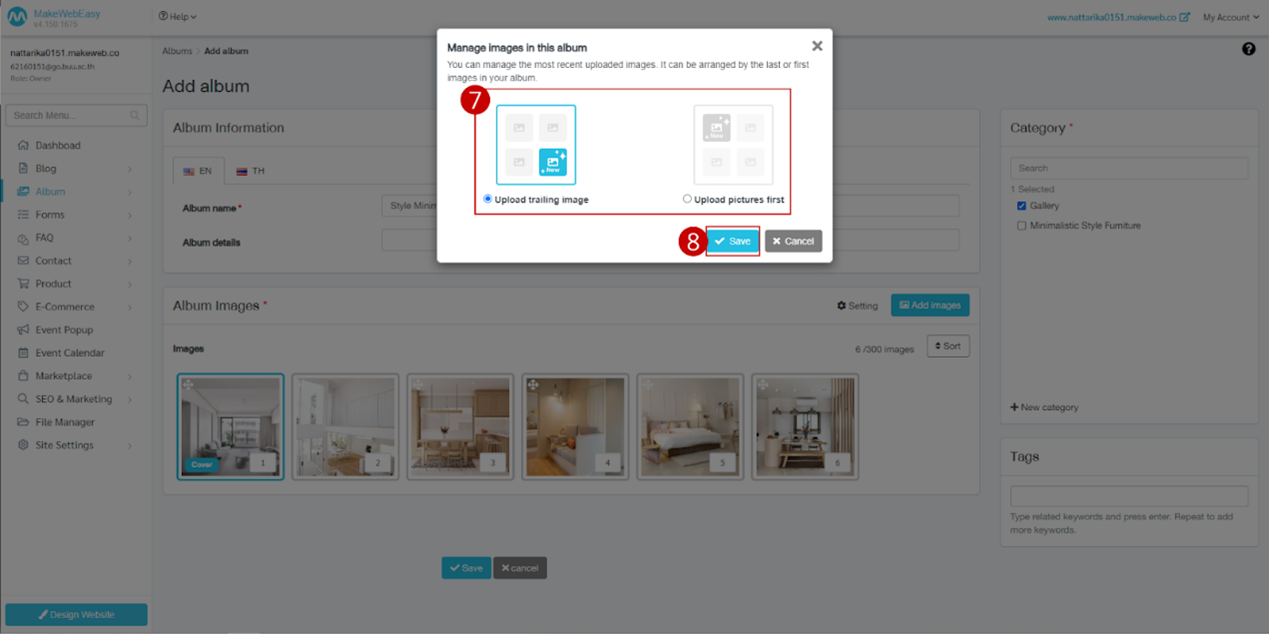
5.In case of clicking the button “Add Section” > “Product” and there is no product information. The system displays the following message image for users to add products
How to set up and customize the content section (Add Section)
When the user has finished adding content to the website, Users can further customize portions of website content. The customization of content is divided into 5 parts as follows:
- Stretch to full width
- Section Background
- Content overlap
- Section divider
- Section margin
1. Customize the Stretch to full width
1. Click “Section”
2. Go to “Content Layout”
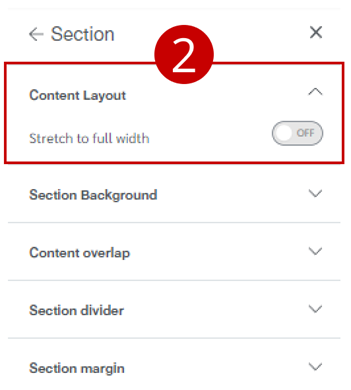
3. Turn on “Stretch to full width”
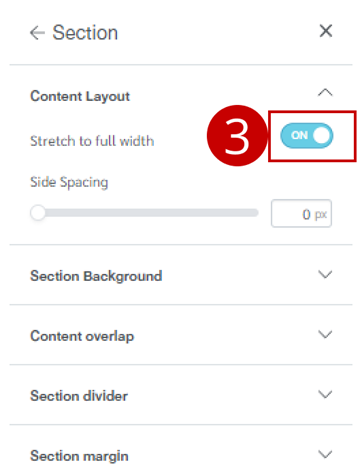
4. Users can further adjust the side distance
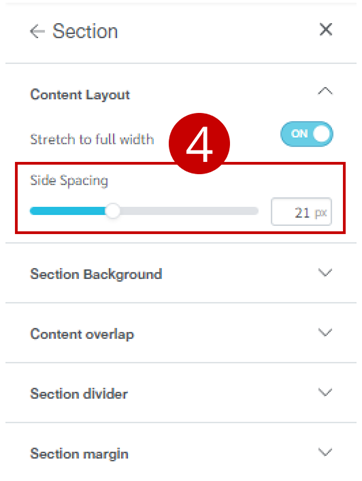
Example of display when Stretch to full width is turned on

Example of display when Stretch to full width is turned off
2. Customize Section Background in 5 formats as follows:
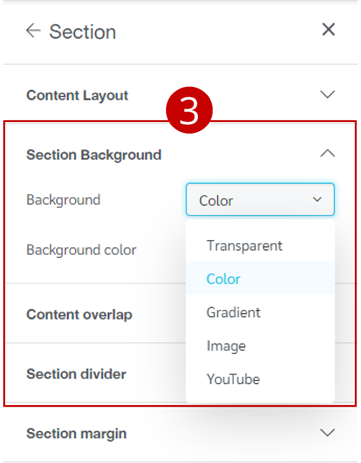
2.1 Transparent Based mainly on the website’s background
2.2 Color Color can be customized as desired
2.3 Gradient you can choose to adjust the color from dark to light. and adjust the gradient position
2.4 Image You can adjust the image scale, position, and color.
2.5 Youtube Can paste the url link of the clip to play in the background like Aotuplay
Example of Section Background Color
1. Click “Section”
2. Go to “Section Background”
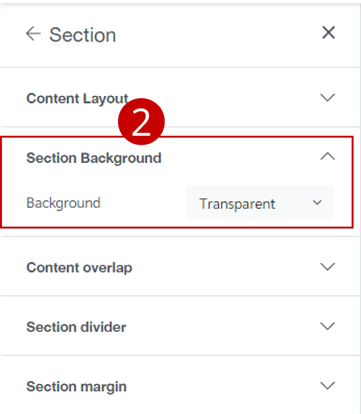
3. Select the background color for the pattern “Color”
4. Click on “Color Box” to select the desired background color

Example display of changing the background color of a section
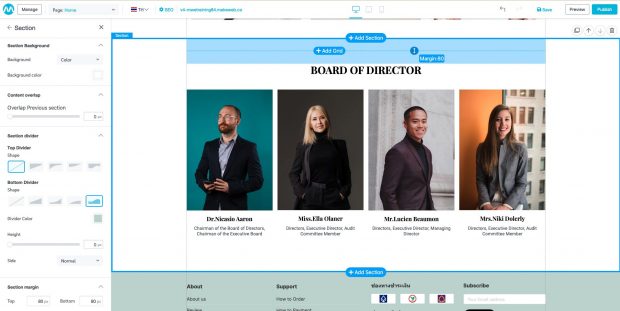
3. Adjust Content overlap from bottom to top. To add display features to the page
1. Click “Section”
2. Go to “Content overlap“
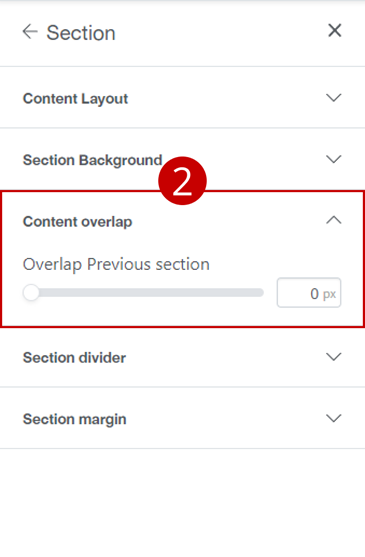
3. Resize “Overlap Previous Section” as needed
”Example of displaying overlapping content of sections
4. Customize Section divider
1. Click “Section”
2. Go to “Section divider” to adjust the upper or lower segmentation. and can choose the format Height resizing and colors as desired
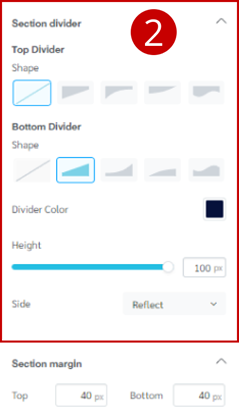
Example display of customizing the shape of a section divider
5. Adjust Section margin You can adjust the distance between the margins between the sections, both top and bottom. From the example you can see. There will be a blue bar to indicate the specified margin distance.
1. Click “Section”
2. Go to “Section margin” To adjust the margin of the section as per the need. By default, the system has a top margin of 40 and a bottom margin of 40.

Example of default section margins
Example of customizing section margins
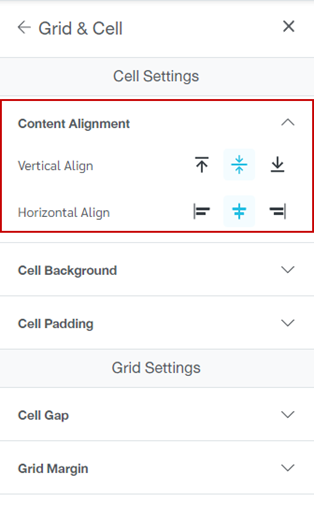
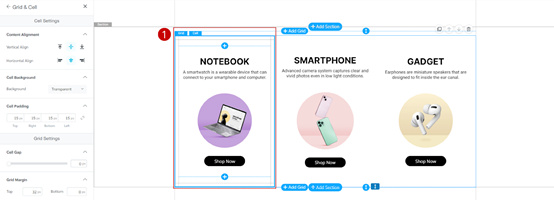
How to Customize Grid & Cell
1. Click on “Grid” that you want
2. The system displays Site Settings, customizing grid and cell sections in all 4 sections as follows.
- Content Alignment
- Cell Background
- Cell Padding
- Grid Settings
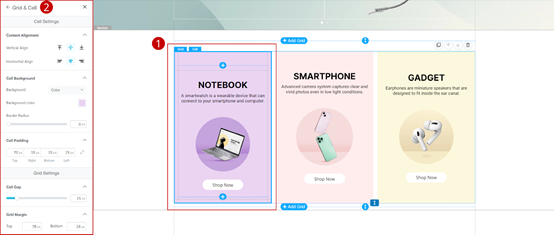
1. Content Alignment There are 2 parts that can be set: Vertical Align and Horizontal Align. Able to position conten tin the cell as desired
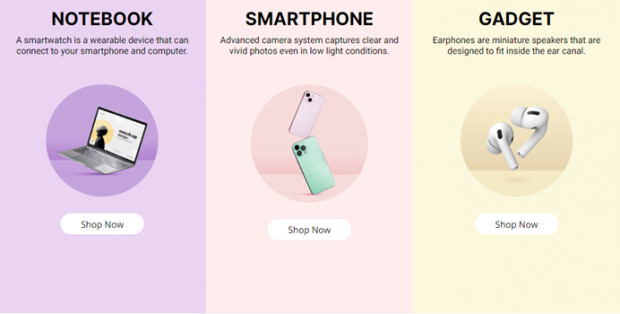
Example of displaying top-aligned content within cells
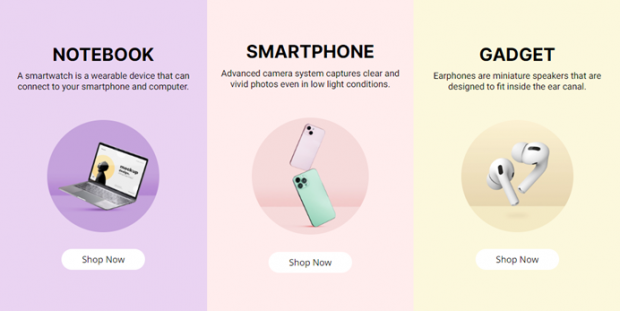
Example of displaying centered content alignment within cells
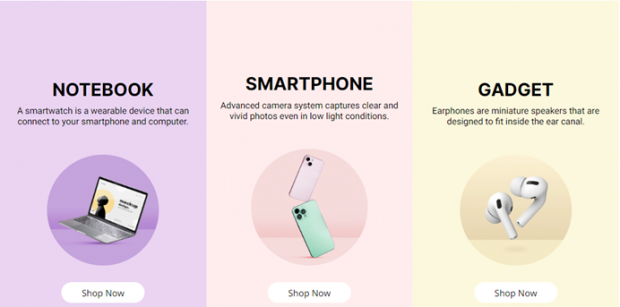
Example of displaying the content positioned within the cell at the bottom.
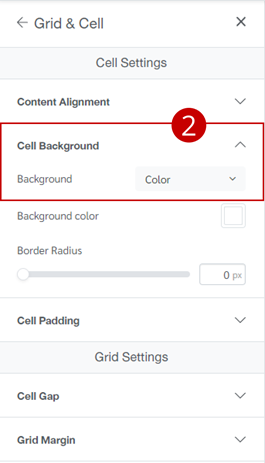
2. Cell Background can be selected in 4 formats
- Transparent is based mainly on the background of the website.
- Color can be customized as desired.
- Gradient can choose to adjust the color from dark to light. and can adjust the gradient position
- Image scale, position, and color can be adjusted.
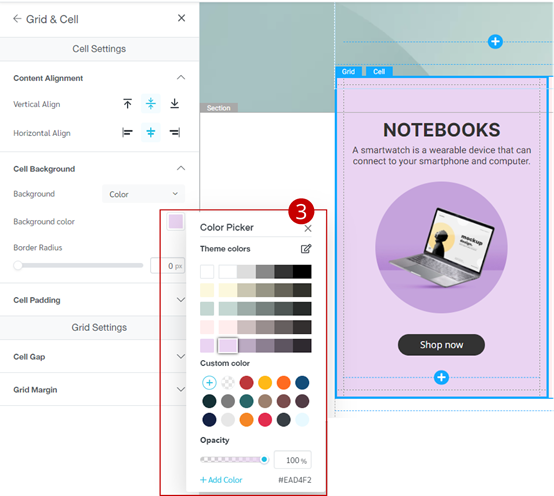
Example of how to adjust cell background color format “Color”
1. Click “Grid”’
2. Choose format “Color”
3. Click on “Color Box”
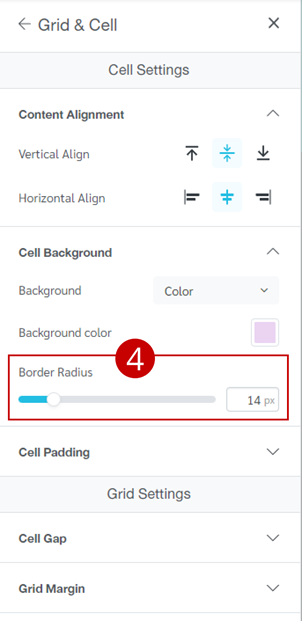
4. Can adjust “Border Radius” according to your needs

Example display of adjusting cell background color
3. Adjust Cell Padding You can set the distance of the edges, top, right, bottom, and left, by specifying the number of spacing within the cell as needed or by placing the mouse on the dotted line. You can also click and hold and drag up and down as desired.

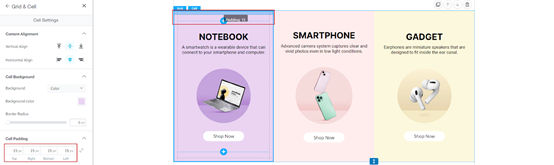
Example of default cell spacing
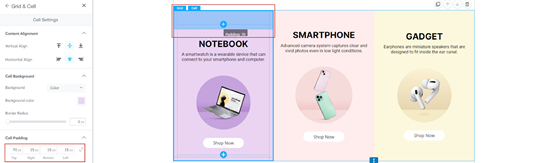
Example of customizing cell spacing
4. Customize Grid Settings There will be a section between cells and the distance of the grid. We can set the height of the top and bottom sections
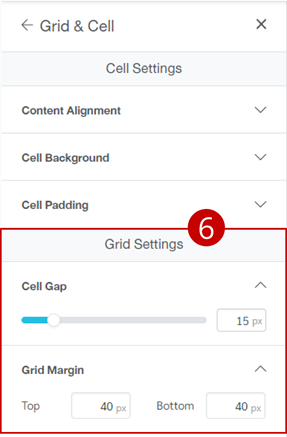
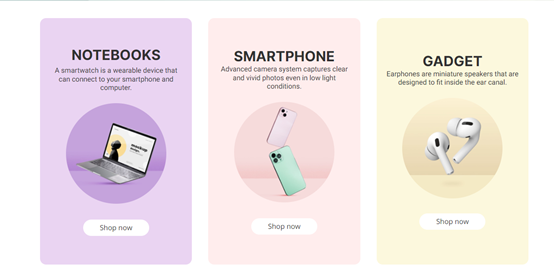
Example of customizing Cell Gap