Add Simple Product
In order to sell products online, users can manage two types of products:
- Simple product suitable for products that have only one type without any options.
- Group product suitable for products that have variations such as size, color, pattern. The steps for adding simple products can be found at Add Group Product
How to Add Simple Product
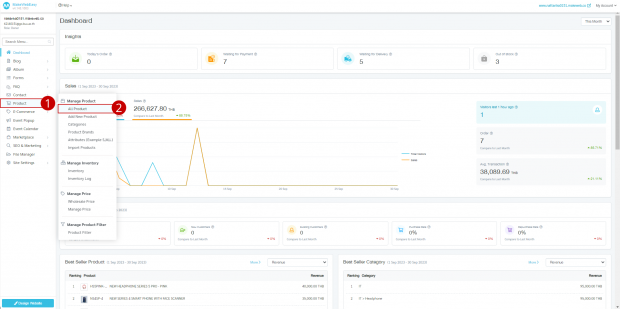
1. Go to the menu “Product”
2. Go to “All Products”
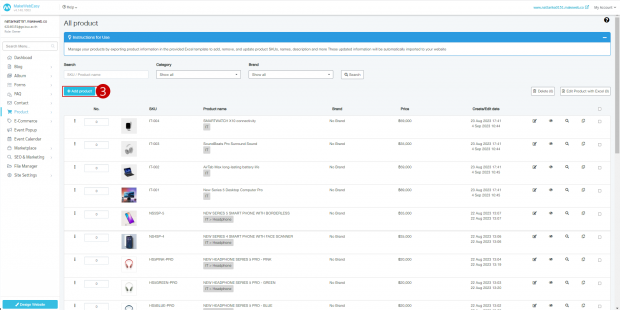
3. Click on the button “Add Product”
4. Select product type as Simple product
5. Enter the product name (mandatory)
6. Fill in short description.
7. Fill in product details.
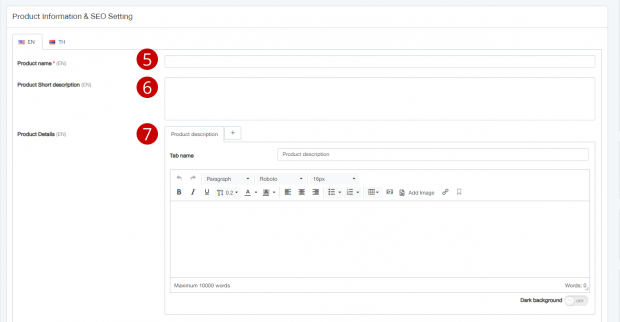
Note : in the product details section You can add up to 3 data tabs (the first tab cannot be deleted) by clicking the plus icon as shown. Each language can separate data. For example, Thai language has 3 tabs of data, but the English page has data. There is information displayed in only one tab.
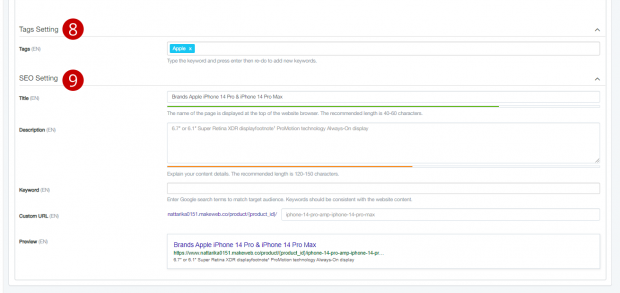
8. Set up tags to help search within the website. Including help in SEO rankings by typing or copying text and pressing Enter.
9. Set up the SEO of the product so that it has a chance to rank on Google with the following details.
- Title will be displayed on the Web browser tab. The recommended length is 40-60 characters. If you do not fill in the information, the system will pull the product name instead. which the system will calculate automatically The system will display a power bar with the following symbols
- Orange means the recommended length has not yet been reached.
- Green means the length is appropriate as recommended.
- Red means the length exceeds the recommended length.
- Description Describes the contents of the product in detail. What is the content related to? The recommended length is 120-150 characters. If no information is entered, a short description will be entered instead. which the system will calculate automatically The system will also display a power bar.
- Keyword Enter search terms on Google to match the website’s target audience. Keywords should be consistent with the content on the website. To start, we recommend adding no more than 3 keywords.
- Custom URL In case we don’t edit The system will pull in the product name for you. In the case of a long product name, it will result in the URL of that product being also longer when copying and sending to customers or using it. It will look too long. In this section it is possible to shorten the name.
10. Fill in details, price and stock.
- SKU (Mandatory) Enter the product code. Do not fill in duplicate information.
- Price divided into regular price (mandatory), discounted price and member price
- Weight affects transportation. If shipping costs are calculated according to weight. Weight information must be included on that item as well. The unit will be grams. The smallest, for example 500 grams = 0.5 kilograms
- Manage stock Divided into 1. Not managing product stock (closed) 2. Managing product stock (open)
- Manage stock (Off) is the default. There is a status to choose from: In stock, you can order Unlimited, where the store does not specify the number of products available, and Out of Stock (out of stock).
- Manage stock (Open) The system will force you to enter the stock quantity. You can order according to the available quantity. If the status is out of stock, it will automatically be out of stock. In the section of low stock, Low Stock is not required to be filled in. But in the case where it is specified The system will notify the store owner of products that are nearly out of stock via email. To remind the shopkeeper to replenish stock

11. Select the Order button. You can choose to choose an Add to cart button or a Contact us button.

Note: In the case of choosing to contact us. You will now have the choice to go to the Contact us page or go to another link.
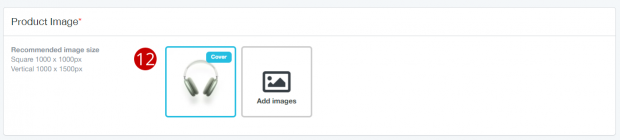
12. Upload product images You can enter a maximum of 20 images and cannot select duplicate images.
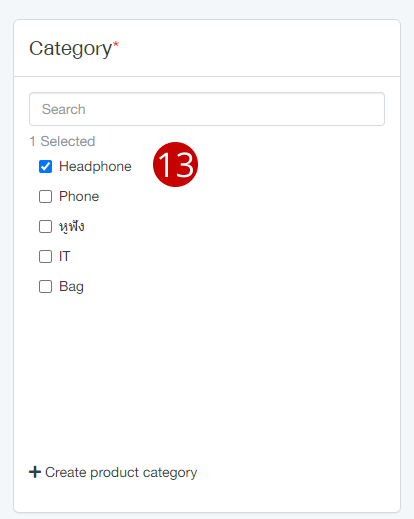
13. Select a product category. Categories can be created on this page. or go to manage in the product category menu (Can create up to 4 levels)
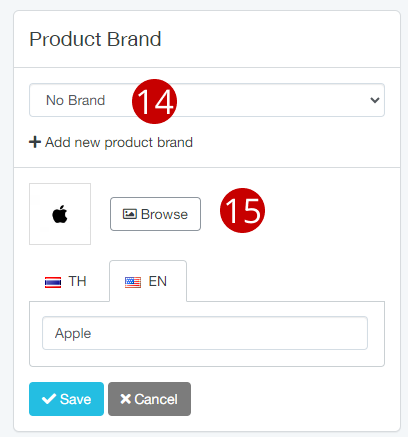
14. Choose a product brand. 1 product can belong to 1 brand.
15. Create a new product brand now. Or go to manage in the product brand menu (default is no brand)
16. Click on the button “Browse”
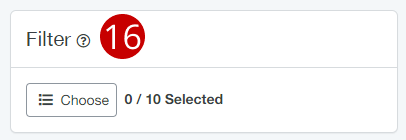
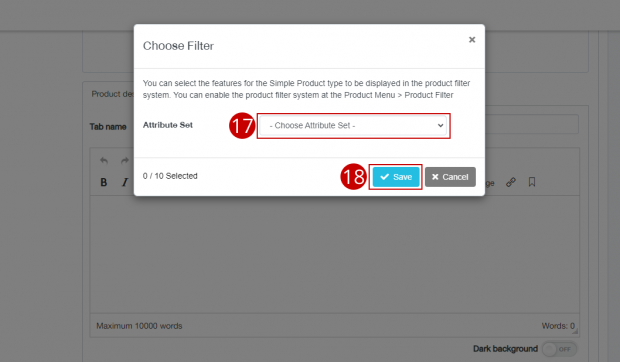
17. Select properties so that products of the Simple Product type can be displayed in the product filter system.
18. Click on the button “Save”
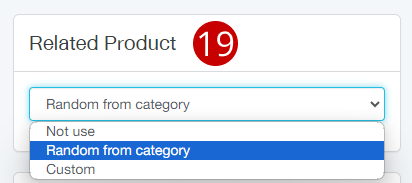
19. Select related products There are 3 types to choose from as follows:
- Not use means there are no related products. Information is not displayed on the product details page.
- Random from category means that every time someone comes to view this product, products in all related categories will appear randomly.
- Custom You can select a maximum of 4 items
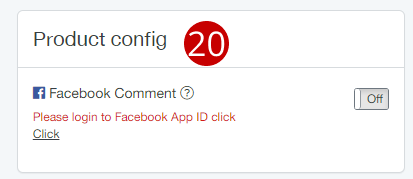
20. Set up other products as desired.
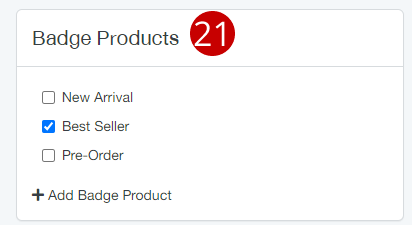
21. You can choose to label the product. Or to create a new product label, click on the button “Add Badge Product” then click the Save button
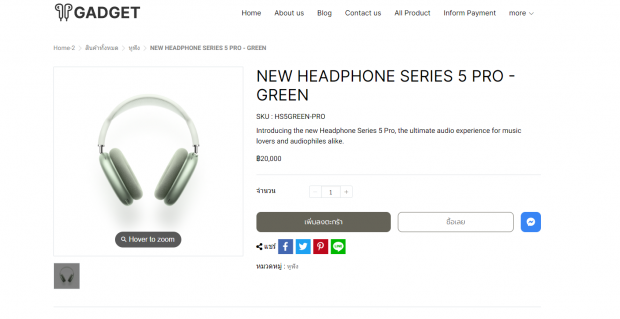
Simple product