Product Management
Product management system To sell your products online, there are 2 types of products that you need to be aware of:
- Simple Product is suitable for products that do not have variations
- Group Product is suitable for products that have variations, such as size or color
1. Simple product (only one product, no variation)
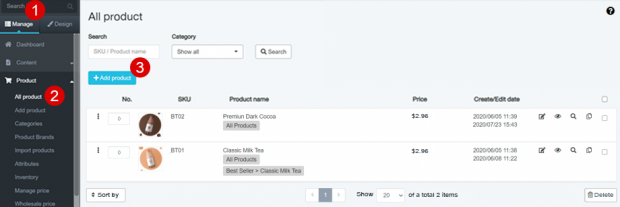
1. Navigate to Manage
2. Select Product > All Product
3. Click on the + Add Product button
4. Select product type as Simple product

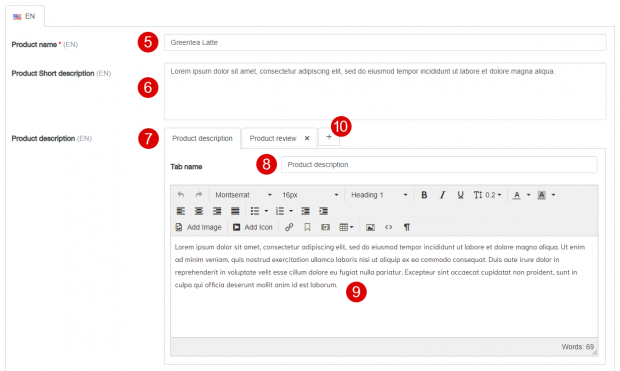
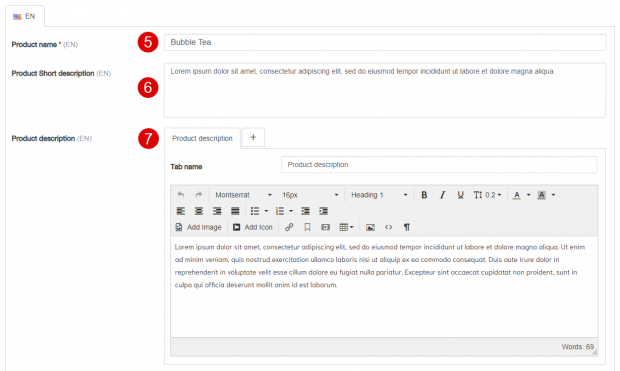
5. Enter the name of the product (required)
6. Fill in a short product description
7. Fill in the product description
8. Enter a tab name (The default is Product description)
9. Write product in detail
10. In the product details section, you can add up to 3 tabs of information (the first tab can not be deleted) by clicking on the plus icon according to the picture. Each language in the system can have separate information, for example, you can have 3 tabs of information for Thai language meanwhile for English, you can set to have only one tab of information
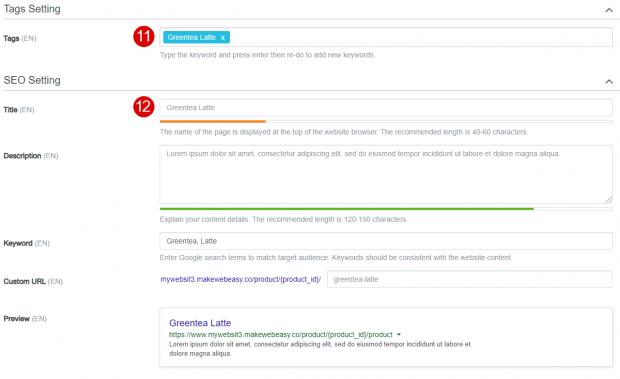
11. Set up a search tag within the website, including SEO that helps to rank your product and website by typing the keywords and press Enter
12. Set up SEO of the product so that the product has a chance to be ranked on Google with the details as follows:
-
- The title will be displayed on the tabs of the web browser, the recommended length is 40-60 characters, which is calculated automatically by the system. The system will display a power bar with symbols as follows:
- Orange means the recommended length has not yet been reached
- Green means suitable length as suggested
- Red indicates the length exceeds recommended
- Description describes the product content. We recommend the length is 120-150 characters. If the information is omitted, a short description will be replaced, which is calculated automatically by the system. The system will display a power bar with symbols as follows:
- Orange means the recommended length has not yet been reached
- Green means suitable length as suggested
- Red indicates the length exceeds recommended
- Keyword puts the search terms on Google to match the target audience of the website. The keyword should be consistent with the content of the website. In the beginning, we recommend putting no more than 3 keywords
- Custom URL. If you don’t edit it, the system will copy the product name to the URL. However, if your product has a long name, it will be difficult for customers if they want to share it. We suggest using a shorter URL to avoid that case
- The title will be displayed on the tabs of the web browser, the recommended length is 40-60 characters, which is calculated automatically by the system. The system will display a power bar with symbols as follows:
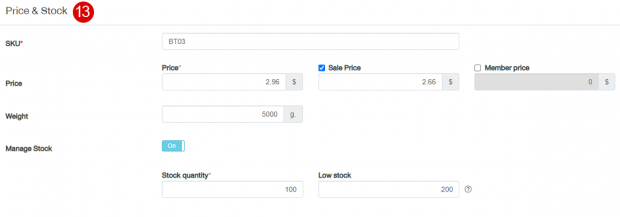
13. Fill in price and stock details
-
- SKU (mandatory). Enter product code. You can’t put the same SKU for different products
- Prices are divided into regular prices (mandatory), sale price, and member price
- Weight affects the shipping. If there is a shipping fee based on weight, you must include weight information on that product as well, in grams. For example, 500 g = 0.5 kg
- Manage stock is divided into 1. Do not manage stock (off) 2. Manage stock (on)
- Manage stock is off by default. There is a status to choose: In stock, can be ordered as Unlimited, the store does not specify the number of products available and Out of Stock
- Manage stock is on, the system will be forced to fill in the stock quantity. The product can be ordered according to the number available. If the status is out of stock, it will automatically be out of stock. In terms of low stock, it is optional. But in cases where it is defined, the system will notify the store owner if the product is almost out of stock via email to remind them to fill the stock
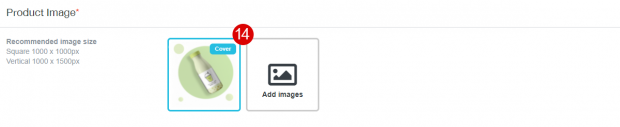
14. Upload product images. Maximum of 20 images
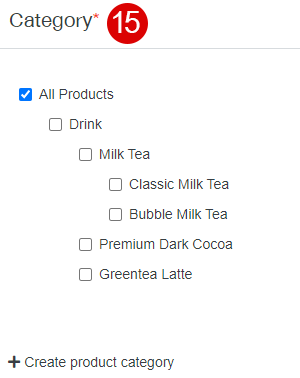
15. Select a product category. Category can be created at this page or go to Manage tab > Product > Categories (can create up to 4 levels)
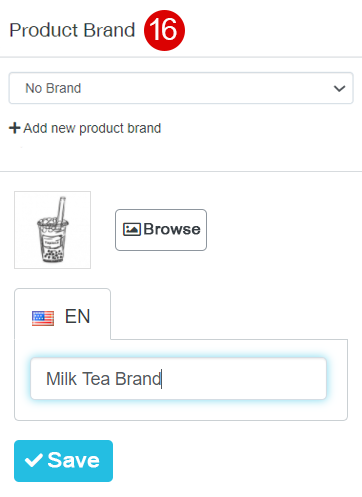
16. Choose a product brand. 1 product can be found in 1 brand by product brand. It can be created at this page or go to Manage tab > Product > Product Brands (default is no brand)
17. Select related products. With 3 types to choose from as follows:
-
- Not use means there are no related products. Information is not displayed on the product details page
- Random from category means that every time this product is viewed, products in all relevant categories will appear randomly
- Custom by selecting up to 4 items

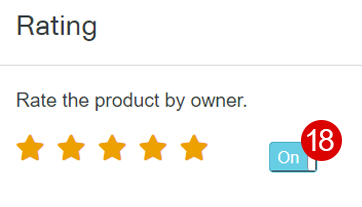
18. Product rating by the store owner. The system has an option to turn off/on the display by default it is on
19. Set product config as desired
20. Click the Save button

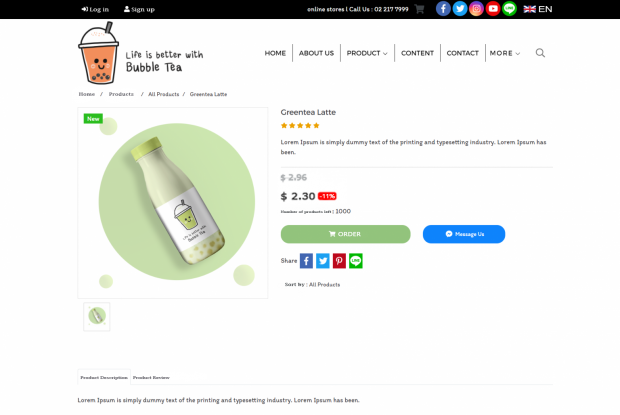
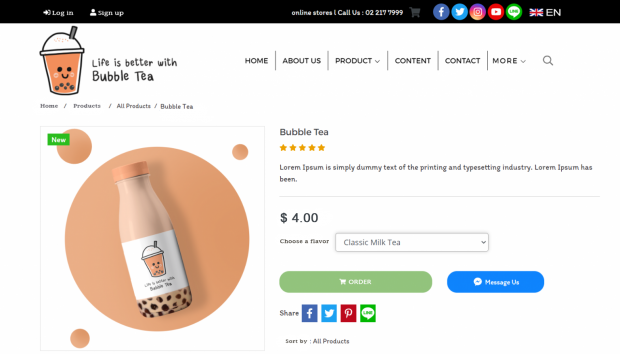
Sample results of simple products
2. Group product (product has variations, such as size/color)
1. Navigate to Manage
2. Select Product > All Product
3. Click on the + Add Product button

4. Select product type as Group product

5. Enter the name of the product (required)
6. Fill in a short product description
7. Fill in the product description and enter a tab name (the default is Product description)
Remark: In the product description section, you can add up to 3 tabs of information (the first tab can not be deleted) by clicking on the plus icon according to the picture. Each language in the system can have separate information, for example, you can have 3 tabs of information for Thai language meanwhile for English, you can set to have only one tab of information
8. Set up a search tag within the website, including SEO that helps ranking your product and website by typing the keywords and press Enter
9. Set up SEO of the product so that the product has a chance to be ranked on Google with the details as follows
-
- The title will be displayed on the tabs of the web browser, the recommended length is 40-60 characters, which is calculated automatically by the system. The system will display a power bar with symbols as follows:
- Orange means the recommended length has not yet been reached
- Green means suitable length as suggested
- Red indicates the length exceeds recommended
- Description describes the product content. We recommend the length is 120-150 characters. If the information is omitted, a short description will be replaced, which is calculated automatically by the system. The system will display a power bar with symbols as follows:
- Orange means the recommended length has not yet been reached
- Green means suitable length as suggested
- Red indicates the length exceeds recommended
- Keyword puts the search terms on Google to match the target audience of the website. The keyword should be consistent with the content of the website. In the beginning, we recommend putting no more than 3 keywords
- Custom URL. If you don’t edit it, the system will copy the product name to the URL. However, if your product has a long name, it will be difficult for customers if they want to share it. We suggest using a shorter URL to avoid that case
- The title will be displayed on the tabs of the web browser, the recommended length is 40-60 characters, which is calculated automatically by the system. The system will display a power bar with symbols as follows:

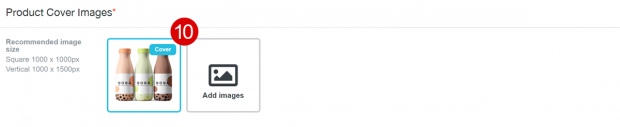
10. Upload a product cover image (max. 5 images). Set a maximum of 10 images for group products and product variations. Should include a picture showing all product variations and not uploading images as a certain product variation only
11. Click Choose button to select the product attribute. You have to create the product’s attributes and variations first, so they can be retrieved at this step
12. If you already created attributes and variations, choose one of the attribute set. In this example, we will use Drink
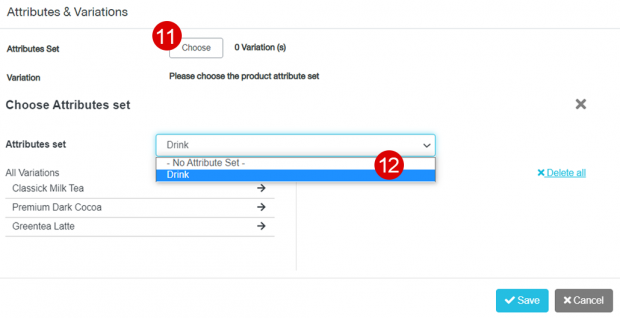
13. Click Select All if you want to use all variations or click each item if you want to select some
14. Click the Save button
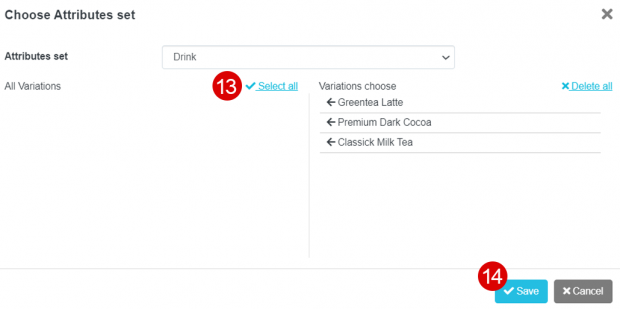
When you hit save, the pattern when you selected the variations will be displayed accordingly. Fill out each item separated by a format as follows
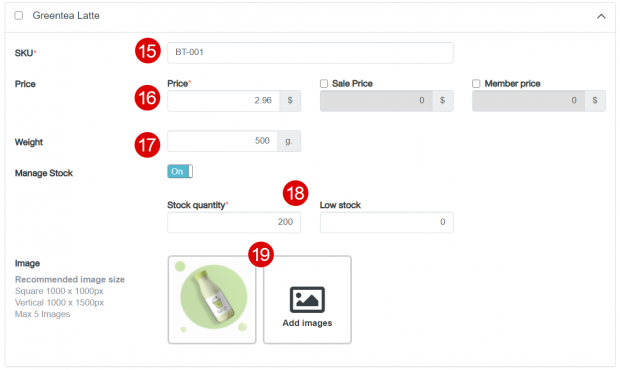
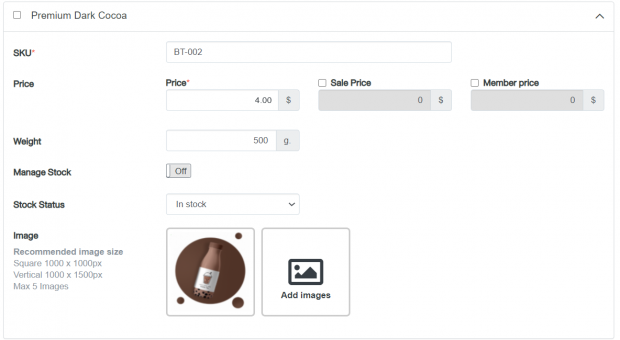
15. SKU (Mandatory) Enter product code. You can’t put the same SKU for different products
16. Prices are divided into regular prices (mandatory), discounted prices, and member prices
17. Weights affect transportation. If there is a freight charge based on weight Must include weight information on that product as well. In grams Smallest eg 500g = 0.5kg
18. Manage stock is divided into 1. Do not manage stock (off) 2. Manage stock (on)
-
- Manage stock is off by default. There is a status to choose: In stock, can be ordered as Unlimited, the store does not specify the number of products available and Out of Stock
- Manage stock is on, the system will be forced to fill in the stock quantity. The product can be ordered according to the number available. If the status is out of stock, it will automatically be out of stock. In terms of low stock, it is optional. But in cases where it is defined, the system will notify the store owner if the product is almost out of stock via email to remind them to fill the stock
19. Upload product images. Set to add a maximum of 5 images (when customers choose a product variation, the picture will be changed accordingly. If the picture is not inserted, the system will pull the cover image to be shown instead)

20. Select a product category. Category can be created at this page or go to Manage tab > Product > Categories (can create up to 4 levels)

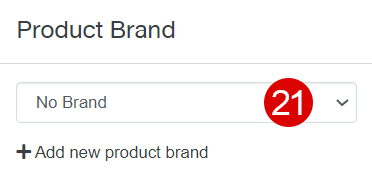
21. Choose a product brand. 1 product can be found in 1 brand by product brand. It can be created on this page or go to Manage tab > Product > Product Brands (default is no brand)
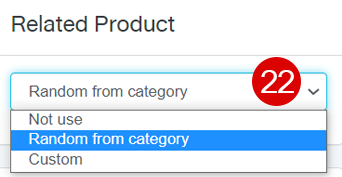
22. Select related products. With 3 types to choose from as follows:
-
- Not use means there are no related products. Information is not displayed on the product details page
- Random from category means that every time this product is viewed, products in all relevant categories will appear randomly
- Custom by selecting up to 4 items
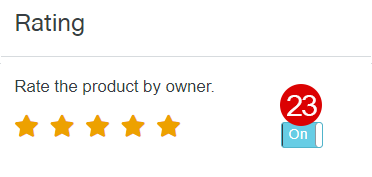
23. Product rating by the store owner. The system has an option to turn off/on the display by default it is on
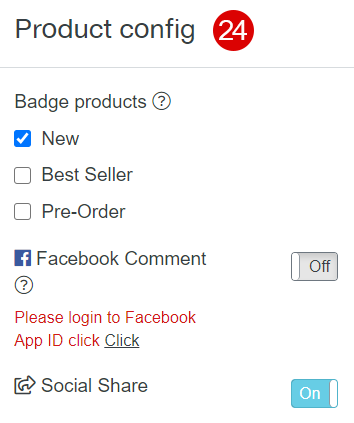
24. Set product config as desired
25. Click the Save button
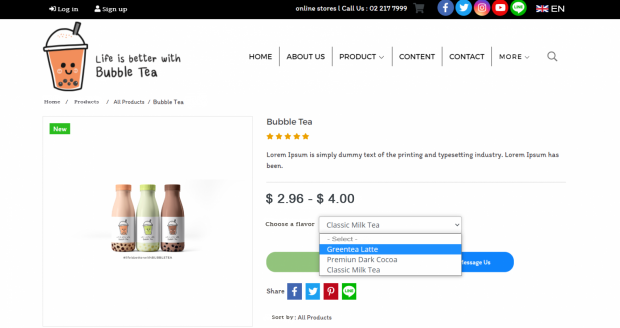
Sample results of Group product
Note: managing the product information on the website can easily be followed by looking at our manual regarding the Admin Page
Yuka
Business Development at MakeWebEasy